Keeping your pistol clean prevents malfunctions that are caused by the fouling of the internal workings. Fortunately, every other month is sufficient for casual shooters. Let’s break it down, and then we will go back and examine the steps in greater detail.
- Assemble your cleaning supplies
- Wear gloves and protect your work surface with a cloth
- Keep the gun pointed in a safe direction
- Remove the magazine and rack the slide to remove ammunition
- Engage the slide lock
- Rotate the takedown lever and remove the slide
- Remove the recoil spring and barrel
- Remove the trigger assembly from the grip if they are separate pieces
- Keep track of all the pieces
- Spray the parts with solvent and wait a moment
- Run the bore brush through the barrel
- Run the jag through the barrel with cleaning patches
- Use cleaning patches to wipe the solvent off the recoil spring
- Clean the slide and trigger assembly with cotton patches covered in solvent
- Remove the solvent from the slide and trigger assembly with cotton patches
- Apply a thin coat of oil to all parts where metal touches metal
- Reinstall the trigger assembly into the grip module
- Replace the takedown lever
- Drop the barrel back into the slide
- Reinstall the coil spring
- Reinstall the slide, moving it front to back
- Push the slide all the way back and re-engage the slide lock
- Rotate the takedown lever up and rack the slide several times
- Wipe off excess oil
Cleaning a semi-automatic is a bit more involved than cleaning a revolver because you have to disassemble it for a thorough cleaning.
As with a revolver, you can clean your semi-automatic every few months if you are not shooting every day. For a gun that is stored, an annual cleaning will suffice.
Assemble Your Cleaning Kit
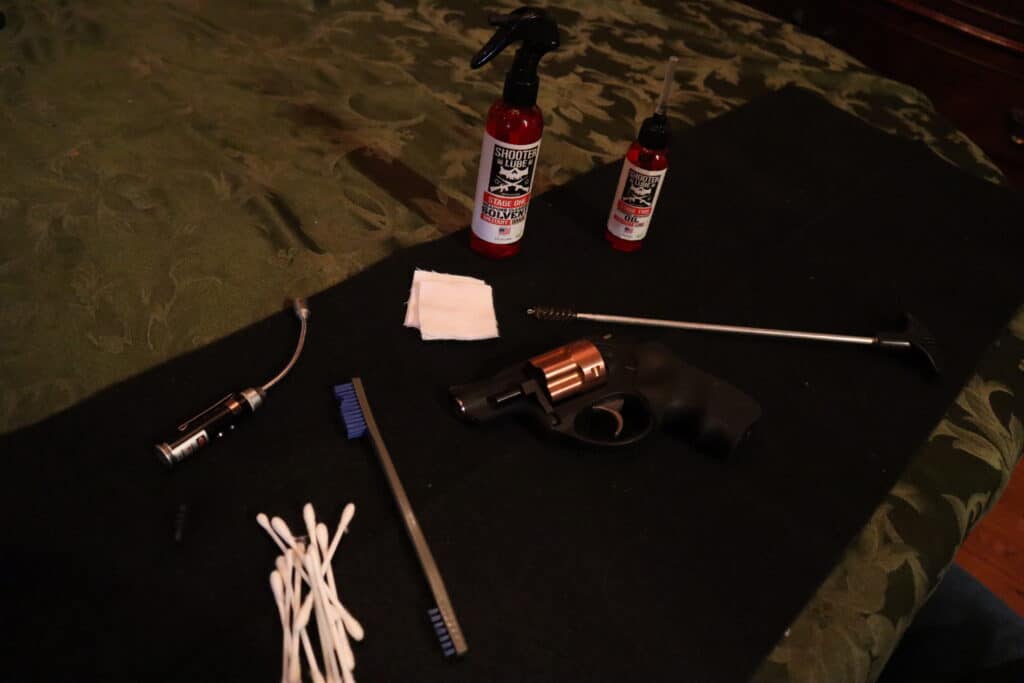
Start by assembling a cleaning kit. You can buy one for about $50 or make your own. You will need solvent, lubricant, cleaning patches, a bore brush, a cleaning rod, a gun cleaning brush, a flashlight, cotton swabs, and a cloth.
Protect your work surface with a clean cloth. Wear gloves to protect your skin from the lead residue. We use disposable gloves that come in packages of 100 and are also useful for cleaning the grill and working on the lawn mower.
Remove the Ammunition
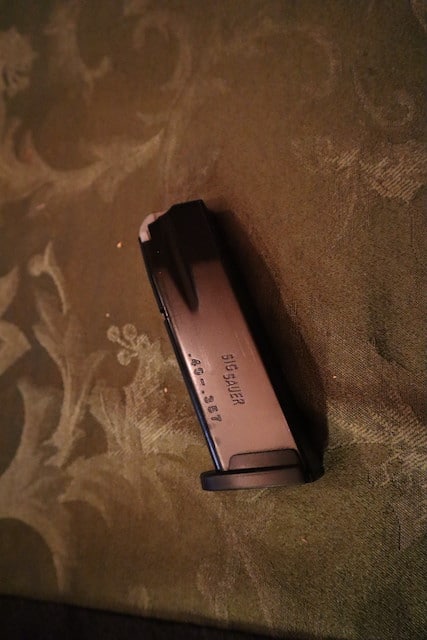
Remove the magazine from your pistol and empty it of cartridges. Rack the slide to make sure no round is waiting to surprise you.
Remember the cardinal rules: assume your gun is loaded. Never point the gun at anything you are not willing to destroy. Keep your finger out of the trigger. Practice good muzzle control.
Even when you know it is unloaded, don’t allow yourself to be cavalier with the gun. Your muscles will remember how you habitually hold the gun and you must treat it with respect at all times to avoid making a mistake when your guard is down.
Break It Down
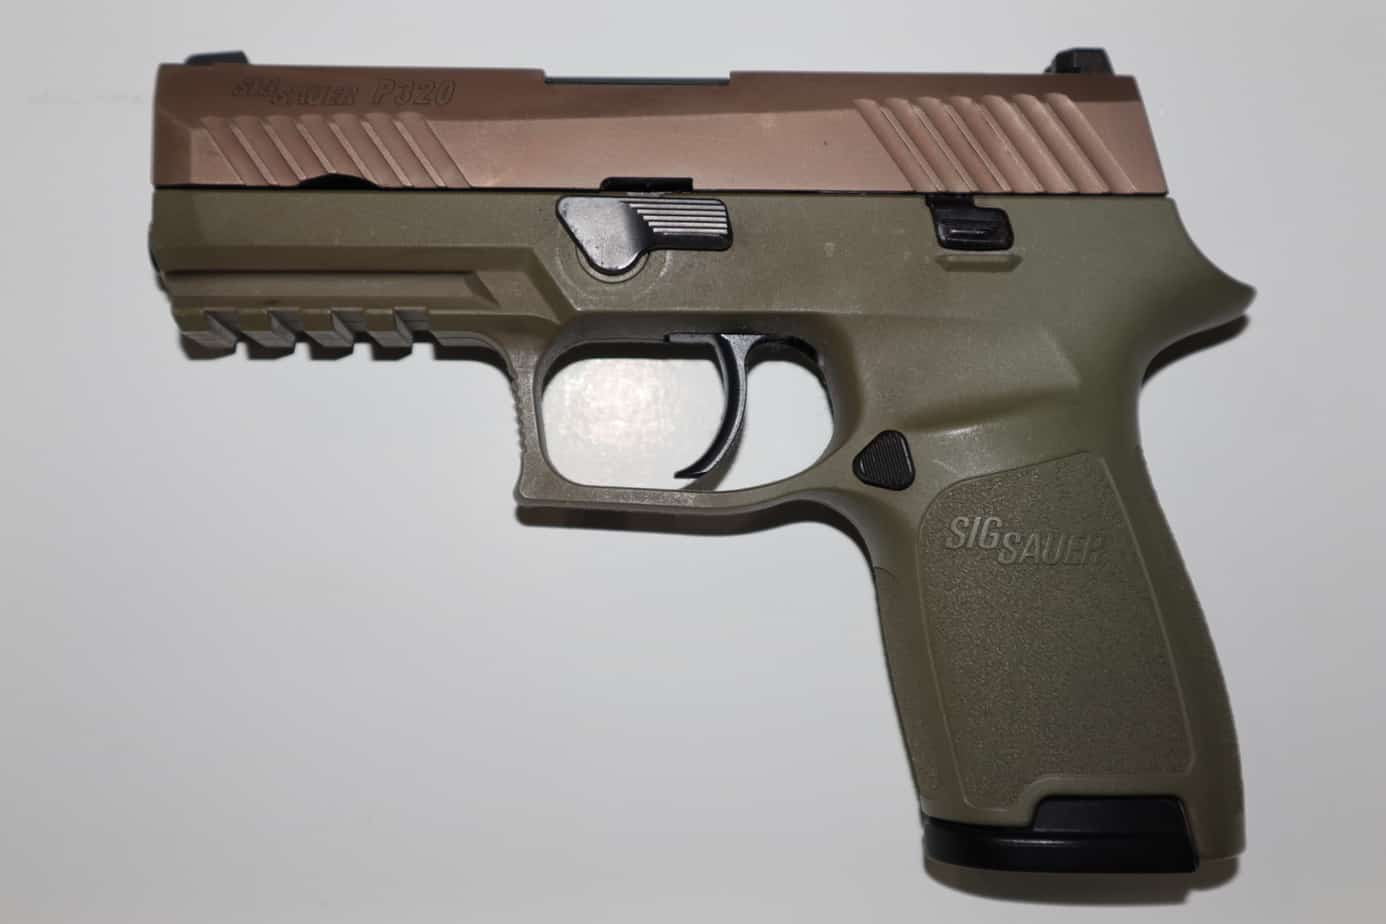
For a thorough cleaning you must disassemble your pistol: for most semi-automatics, rack the slide back and engage the slide lock by pushing it up into the groove at the base of the slide. Rotate the takedown lever downward.
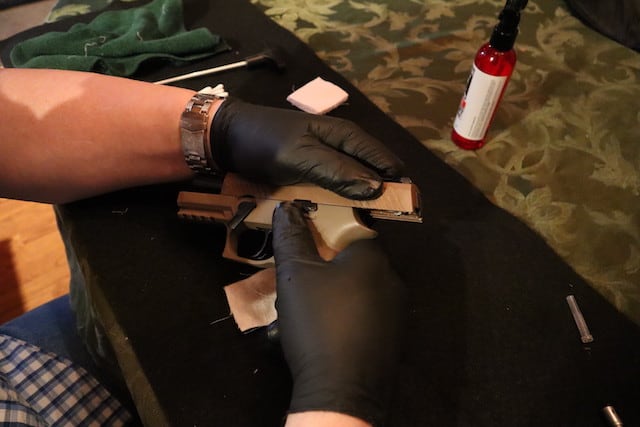
This is typically located just above the trigger guard. Release the slide and slide it forward off the gun. (In some models this requires pulling the trigger, but by now you know there are no rounds in it.)
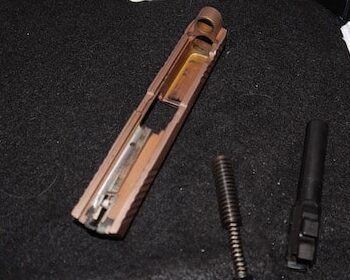
Remove the recoil spring and the barrel from the inside of the slide.
With certain models you can also remove the trigger assembly by pulling out the takedown lever and lifting the assembly out of the frame.
The trigger assembly will separate from the grip module. Keep track of all the pieces and where you put them because you will have to reassemble the gun when you are done.
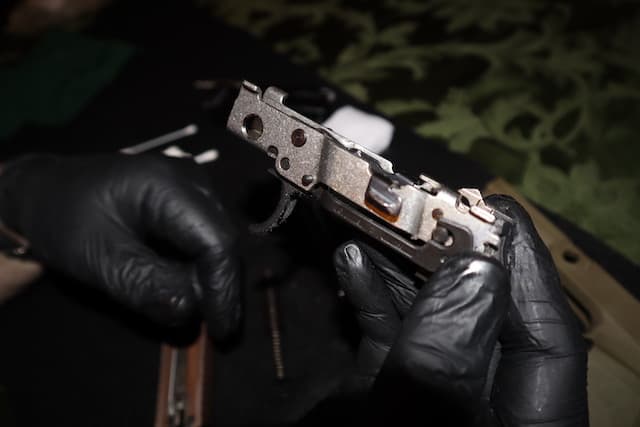
Incidentally, for the purpose of regulation of weapons, the part that gets the serial number is the trigger assembly. That is considered to be the essence of the gun.
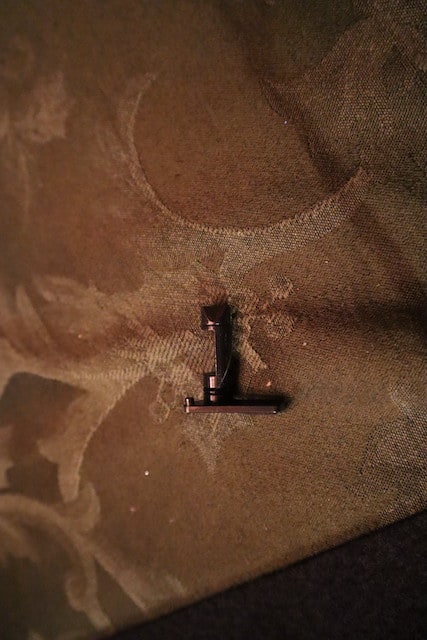
Apply Solvent
Spray all the parts with solvent. Get it inside the barrel, under the slide, and on the extractor, which is located within the slide. Let the parts soak for a moment, then run the bore brush inside the barrel several times.
Clean the Barrel
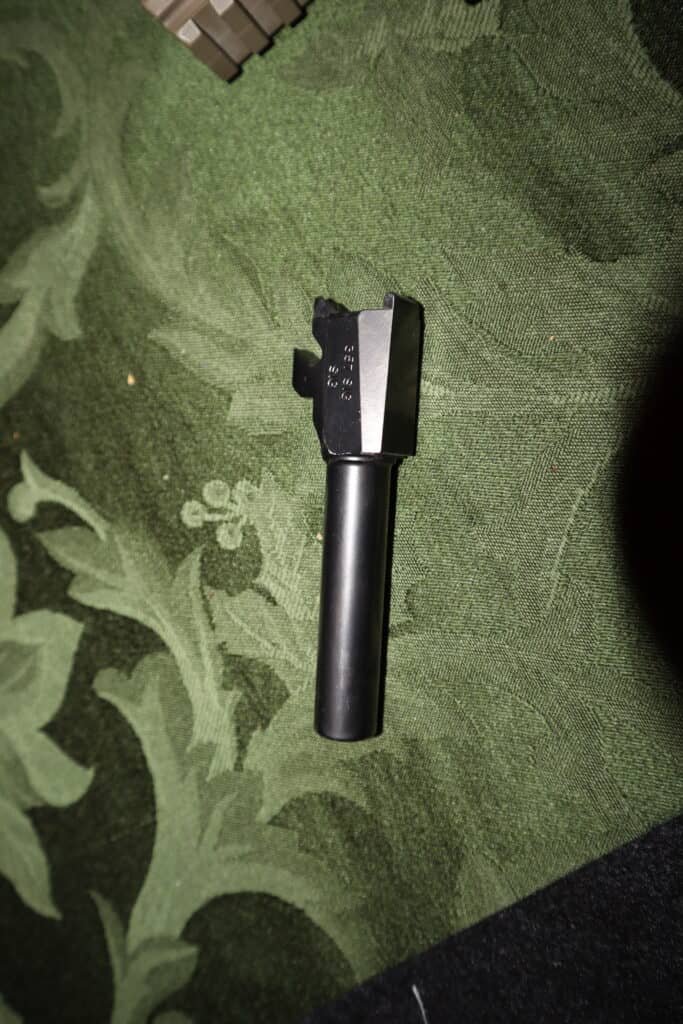
The bore brush comes with an attachment called a jag. Put a cleaning patch over the end of the jag and push it through the barrel. Repeat with additional patches until the last one comes out clean.
Remove Solvent

Use cleaning patches to wipe the solvent off the recoil spring. Clean all the nooks and crannies of the slide and the trigger assembly with cotton swabs dipped in solvent. Wipe the parts with patches until all the residue is gone.
Apply Oil
Oil all the pieces where metal touches metal with a clean cloth or use the needle applicator that comes with the oil to drop the oil directly on the parts. The oil should not puddle but a thin coat on the barrel is fine.
Reassemble the Pistol
Now it is time to reassemble your pistol. If you have removed the trigger assembly, reinstall it into the grip module and replace the takedown lever. Drop the barrel back into the slide.
Reinstall the recoil spring. Typically the recoil spring fits into a hole at the end of the slide and you compress it. The other end will rest on the notch in the bottom of the barrel.
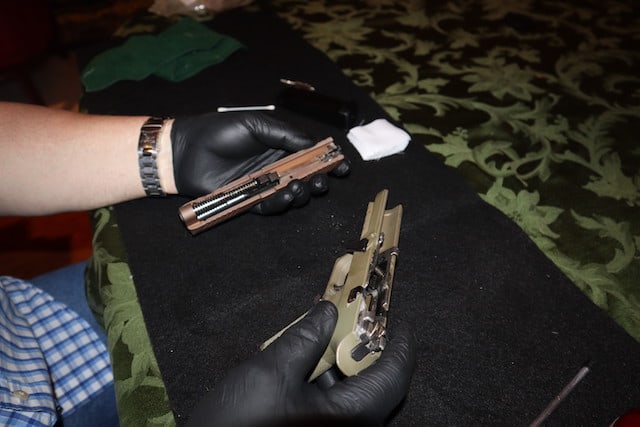
Reinstall the slide onto the gun by sliding it from front to back on the frame. Push it all the way back and re-engage the slide lock. Rotate the takedown lever up. Rack the slide several times to check the proper functioning of the gun.

Wipe off any excess oil that may have dripped out of your now clean and shining gun.
Maintain Your Gun
If you store your gun for long periods, wipe it with a cloth first to remove the oils from your hand to avoid rusting the finish. Store your gun in a low humidity environment.
If you get caught in the rain or your body heat causes condensation when you carry, wipe off the moisture when you retire for the night.
If you drop your gun, inspect it before you use it again to make sure nothing is out of alignment.
If you take your gun from a very cold environment to a hot environment, check your gun for condensation. The same applies when going from a hot environment to a cold one. Carrying the gun on your body will help keep the temperature stable.

