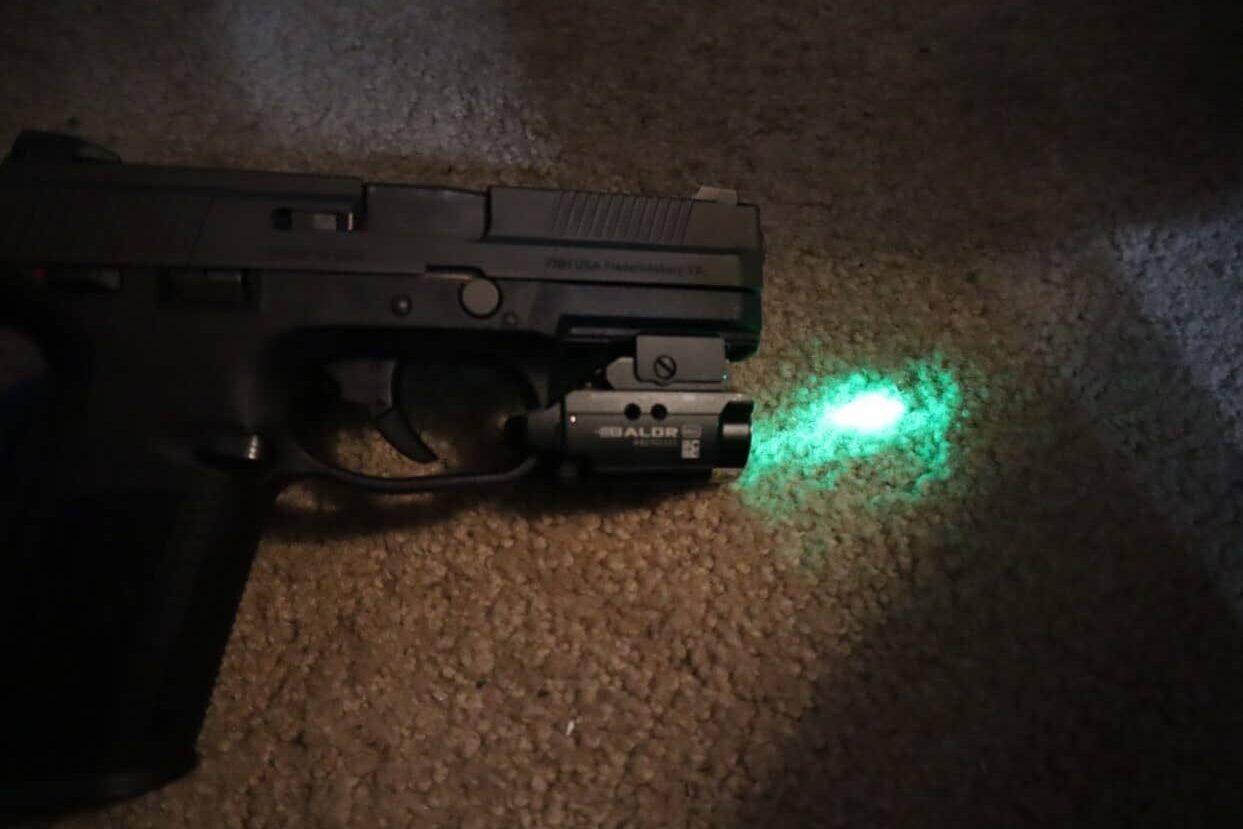
Recently Olight sent us a Baldr Mini Laser/600 Lumen flashlight to review. Chris attached it to his FNS9 9mm pistol and his Sig P320 .357Sig pistol and put it through its paces.
The Baldr Mini from Olight is a green laser with a built-in 600 lumen flashlight that you apply to the rail of your semi-automatic pistol or AR-style rifle.
The Baldr Mini is designed as a tactical light. It mounts under the barrel of semi-automatic guns and shines a light onto your target. Your rifle may have a rail under the barrel or on the side.
Tactical lights can be just a flashlight or a flashlight with a laser. The light helps you navigate in low light situations when it is not feasible to turn on overhead lights.
A bright enough light in a dark enough room can also serve to obscure your assailant’s view of you even as it broadcasts your location.
The Specs
From the Olight website, paraphrased for brevity:
- Beam distance 426 feet/130 meters
- Max performance 600 lumens
- Magnetic USB charging cable at the bottom of the light
- 3.7V 230mAh rechargeable built-in lithium polymer battery
- Light intensity 4225 candela
- Mode of operation side switch
- Size similar to a car key or Zippo lighter
- Series PL
- Can be slid forward and backward on sliding rail
- Adaptable to Glock or Picatinny rails
- Settings: green laser, white light, or both at once
- Low battery light indicator
- Quick mounting and detaching from rail
- Dual rear switches with option for constant-on or momentary flash
- 29 minute run time at level 1 with green laser on
- 39 minute run time at level 1 with flashlight on
- Waterproof IPX4
- Weight 87 grams/3.07 ounces including battery
- Length 57mm/2.24″
- Head diameter 32.8mm/1.29″
- Body diameter 35.8mm/1.41″
- High performance cool white LED
- Recommended uses: self defense, law enforcement, tactical
Olight’s Reputation
Olight is known in the firearms community for reliable, high-quality products. You get what you pay for, so expect to pay more for Olight. Factor in longevity and you can recoup the extra cost by not having to replace substandard products frequently.
The Packaging
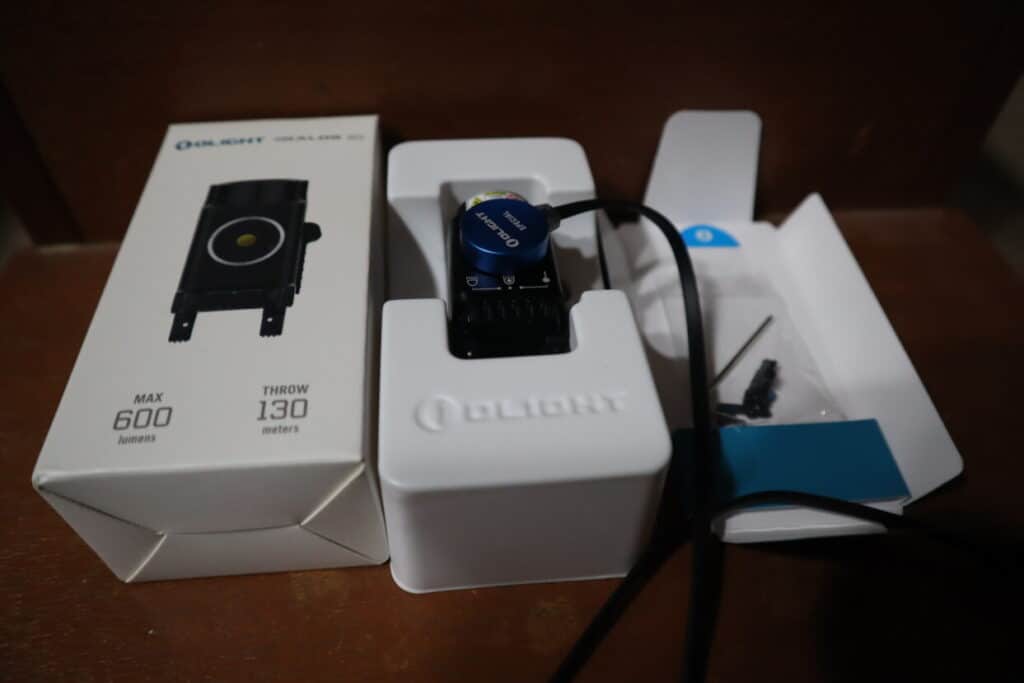
Our Baldr Mini arrived in a bubble-padded mailing envelope which conformed to the shape of the box as it if had been vacuum sealed. We opened the envelope to find the package.
The rectangular white box was tightly configured to hold everything in place without jostling, with a molded plastic insert. The instructions and small parts were taped to a printed cardboard insert. The tiny screws and adapters were in a plastic zip bag.
Instructions were printed on a map-folded page with drawings of the contents and of each step in installing and using the Baldr Mini. Instructions included compatibility check and calibration instructions in 17 languages.
The print was small but my aging eyes were able to read without resorting to reading glasses.
Contents:
- Baldr Mini with built-in battery
- Picatinny (MIL-STD-1913) Rail Mount Adapter
- HM2.5*4.5 Socket Cap Screw x 2
- MCC (Magnetic Charging Cable) Special Edition
- H1.5 Allen Wrench
- Oval Point Set Screw
- Cone Point Set Screw
- User Manual
The Configuration
The name suggests it will be small, and it is. If you have manual dexterity issues the tiny Allen wrench and screws will pose a challenge for you.
The Baldr Mini is sturdily built of metal with parts that move smoothly and easily with no impingement on other parts. The magnet fits nicely onto its mounting area and repels strongly if you approach it with the wrong end.
The sled moves forward and backward smoothly and is easy to engage and disengage from the main body of the light. The quick-mount arm is easy to latch and unlatch.
Sliding between flashlight, laser, and both was easy and intuitive. With the beam facing to your left, the switch is on the bottom of the light at your right, behind the charging area.
Slide the switch toward you for the laser, to the middle for both, and away from you for the flashlight.
The one problem I had was that my husband Chris had mounted it on the gun and it turned itself on while I was removing it. I had to call him to learn how to switch it off.
Now that I understand it, the on/off mechanism makes sense. With the beam facing to your left, gun-side up, you will see two wing-shaped pieces jutting off the back on your right. They are easy to access from either side of the gun because they are close to the trigger guard.
Press either piece downward briefly to turn the light on or off. Press and hold to activate the light just for a moment. If you hold it upside down like I did you will find the wings don’t move at all.
When the flashlight is turned on continuously, it will dim to a lower setting after one minute.
Changing the Adapter
Watch our YouTube video to see Chris change the adapter. He was able to handle the tiny screws and Allen wrench with his large hand without too much awkwardness.
He removed two screws from the carriage with the supplied Allen wrench and replaced the Glock rail adapter with the 1913 adapter.
Mounting the Baldr Mini
The Baldr Mini comes equipped for a Glock rail, with an adapter for a Picatinny rail. Once he added the adapter, Chris had no trouble attaching the light to the rail.
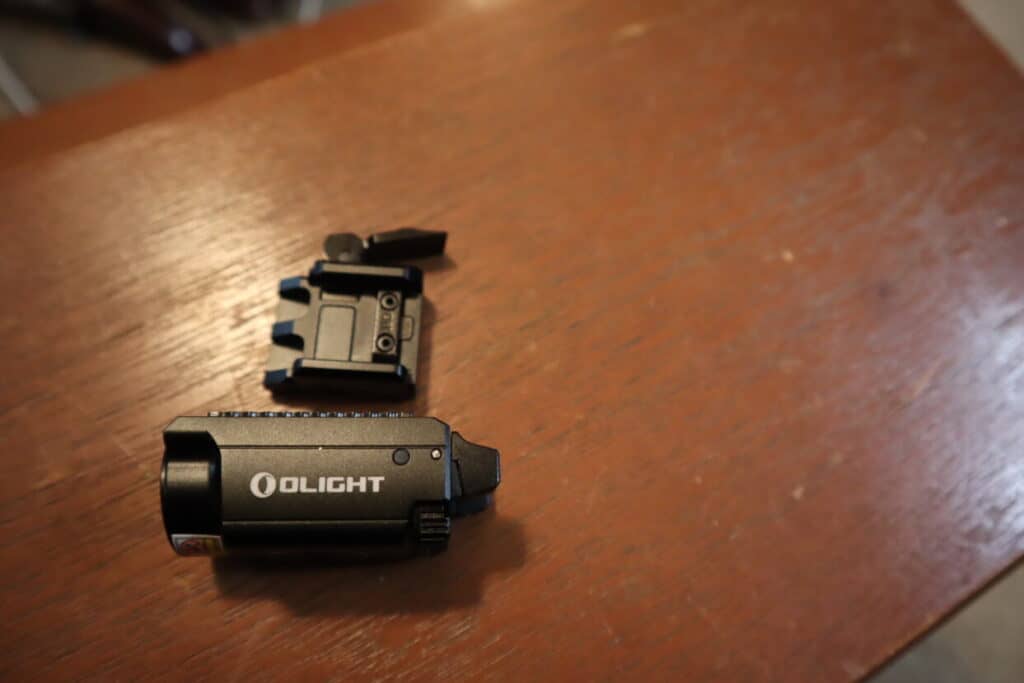
My gifts are verbal rather than spatial, so I struggled with getting the light attached to the rail. The secret is to start by mounting the right side (with the gun pointed away from you) and then the left side.
You can’t slide it on directly the way you do when mounting the body of the light to the sled. Open the swing arm before you mount the light by pulling it forward. Close it by pushing it backward to secure the light on the gun.
Zeroing the Target
Not having used a laser for shooting, Chris had to do some research. Just attaching the Baldr Mini and aiming at a target 20 yards away did not work, because the beam was hidden by the iron sights on the FNS9.
He learned that lasers are useful at shorter “combat” distances. The laser has to cross the path of the iron sights on your gun at the distance you want to shoot, so you have to adjust for your intended target. At five yards, he found it easy to find the green light and match it with his iron sights.
Adjusting the Baldr Mini
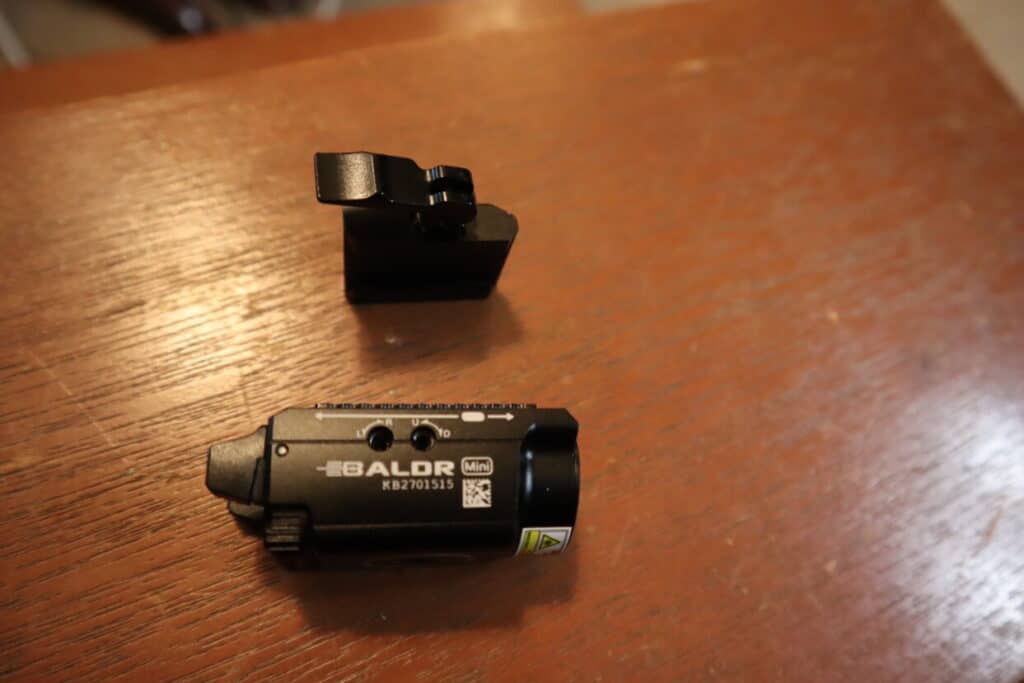
Once he had sighted the laser against the target, Chris had to use the Allen wrench to turn the screws for fine adjustment of vertical and horizontal placement.
With the beam facing to your right, insert the Allen wrench into the front hole just above the letter “D” in “BALDR” to calibrate the vertical position: clockwise for down and counterclockwise for up.
Use the hole just above the letter “A” in “BALDR” to calibrate the horizontal position: clockwise for right and counterclockwise for left.
He had no difficulty manipulating the Allen wrench in the several attempts it took to get the beam where he wanted it.
Recharging the Baldr Mini
Recharging is easy. You plug the magnetic adapter into a USB port on your computer or with a USB adapter in your regular wall socket. You attach the magnet to the circular mounting area on the light and wait about an hour for a full charge. You could even do this while it is mounted on the gun.
The piece of plastic next to the blue magnet will glow red while charging and green when finished charging.
The Laser
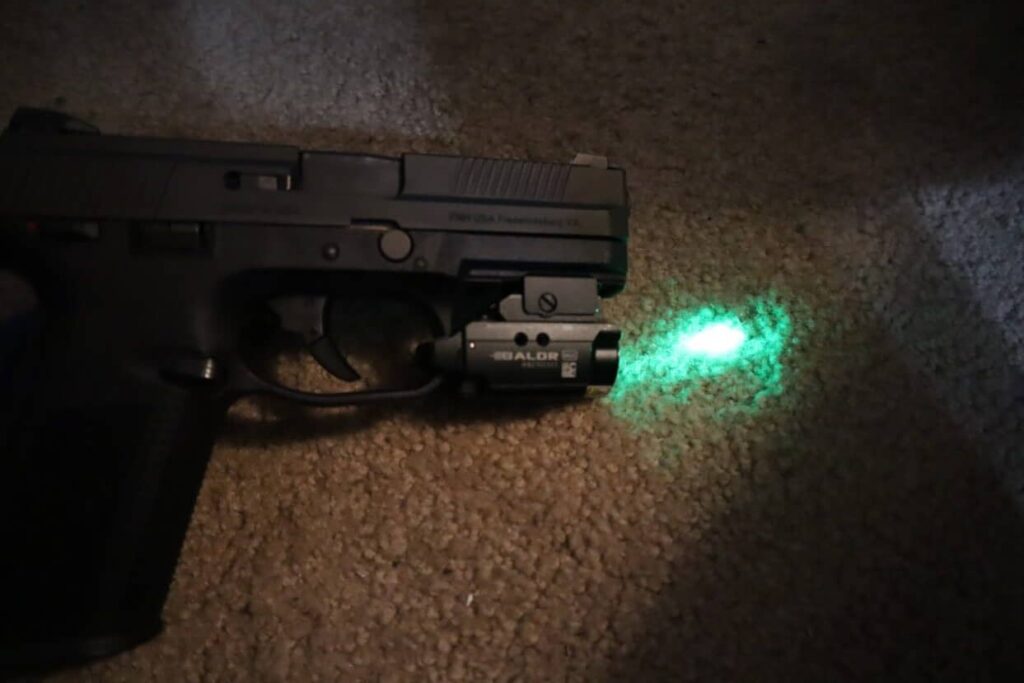
Green laser is easier to see in the daytime than red or blue, and it shows up well at night. Once he had it positioned correctly, Chris found it easy to see on a target in full daylight. He was very pleased with his laser guided groupings.
The Flashlight
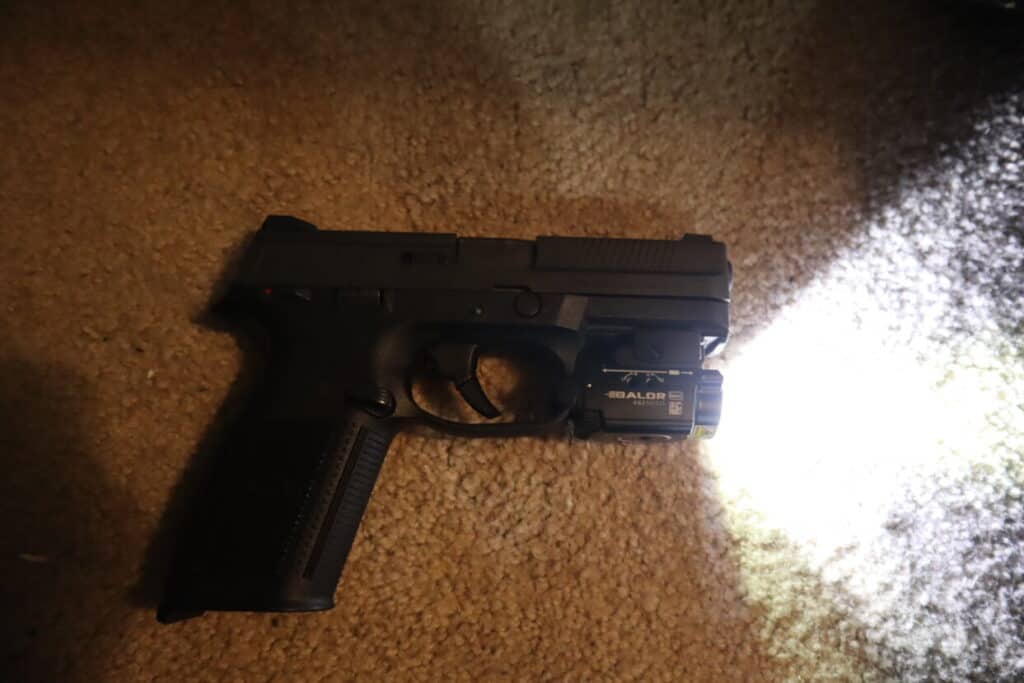
The flashlight beam is super bright and lights up a dark room well. When I accidentally turned it on, I had to turn it away so that I could see the Baldr Mini. This flashlight is definitely suitable for tactical use.
Our Recommendation
We like the Baldr Mini. It is small enough to stay out of your way and easy to use once you understand the mechanism. The lights are bright and the housing is solid.
Chris likes it so much that it now has a place on his home defense gun. We recommend you get one too.
Keep reading our blog and watching our YouTube channel for more great information on gun related topics.


